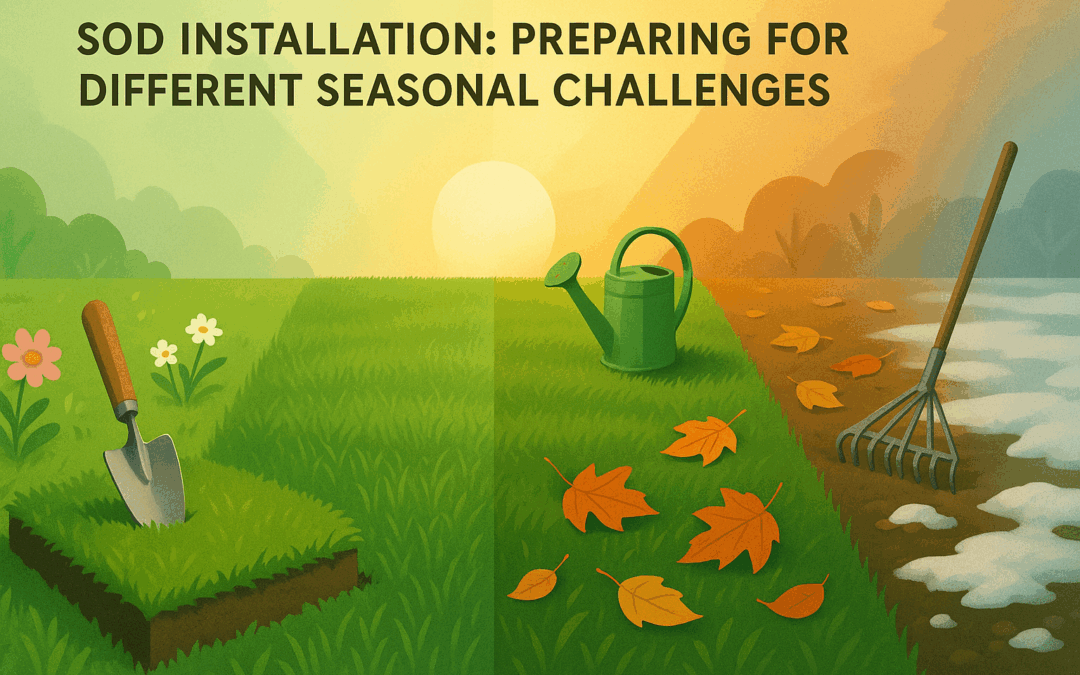
Sod Installation: Preparing for Different Seasonal Challenges 🌱
Installing sod is a fantastic way to achieve a lush, green lawn quickly. However, the success of your sod installation can significantly depend on the season. Each season presents its own set of challenges, and being prepared for them is key to maintaining a healthy lawn. Let’s dive into how you can effectively prepare for sod installation no matter the time of year. 🌦️
Table of Contents
1. Sod Installation in Spring 🌸
2. Sod Installation in Summer ☀️
3. Sod Installation in Fall 🍂
4. Sod Installation in Winter ❄️
5. Conclusion
6. FAQs
Sod Installation in Spring 🌸
Spring is arguably the best time for sod installation. The mild temperatures and frequent rain showers create optimal conditions for grass growth. During this time, the soil is warming up, which encourages root development.
Tips for Spring Installation:
– Soil Preparation: Ensure your soil is well-aerated and free of weeds. Consider adding organic matter to enrich the soil.
– Watering: Regular watering is crucial. Keep the sod moist during the first couple of weeks to help roots establish.
– Fertilization: Use a starter fertilizer to give your sod a nutrient boost.
Sod Installation in Summer ☀️
Summer can be a challenging time for sod installation due to higher temperatures and the potential for drought. However, with proper care, you can still achieve a vibrant lawn.
Tips for Summer Installation:
– Timing: Install sod early in the morning or late in the afternoon to avoid the hottest parts of the day.
– Watering: Increase watering frequency to prevent the sod from drying out. Early morning watering is most effective.
– Shade: If possible, provide temporary shade to protect the sod from intense sunlight during the hottest hours.
Sod Installation in Fall 🍂
Fall is another excellent season for sod installation. Cooler temperatures and consistent rainfall make it easier for the grass to establish roots before winter sets in.
Tips for Fall Installation:
– Soil Testing: Conduct a soil test to check pH levels and nutrient content. Adjust as necessary for optimal growth.
– Maintenance: Keep the sod well-watered and avoid heavy foot traffic until it’s well established.
– Leaf Management: Regularly remove fallen leaves to ensure sunlight reaches the new sod.
Sod Installation in Winter ❄️
Winter sod installation is possible in warmer climates, but it requires extra care. The cold temperatures slow down growth, so patience is key.
Tips for Winter Installation:
– Choose Hardy Varieties: Opt for grasses that can withstand colder temperatures.
– Watering: Water sparingly, as evaporation is slower in winter. Ensure water doesn’t freeze on the sod.
– Monitor Weather: Avoid installation before a hard freeze is expected.
Conclusion
Successfully installing sod requires understanding the unique challenges each season presents. By preparing appropriately and tailoring your care routine to the season, you can enjoy a beautiful, healthy lawn all year round. Remember, patience and consistent care are your best friends in this endeavor! 🌿
FAQs
Q1: Can I install sod myself, or should I hire a professional?
A: You can certainly install sod yourself, especially if you enjoy DIY projects. However, if you’re unsure about soil preparation or installation techniques, hiring a professional can ensure better results.
Q2: How long should I wait before mowing new sod?
A: Wait until the sod has firmly rooted, typically 2-3 weeks after installation. Ensure the grass is dry, and set your mower to the highest setting to prevent scalping.
Q3: What is the best type of sod for my region?
A: The best type of sod depends on your climate, soil type, and sunlight availability. Consult with local garden centers or extension services for recommendations specific to your area.
Q4: How do I know if my sod is getting enough water?
A: To check for adequate watering, lift a corner of the sod. The soil beneath should be moist but not soggy. Overwatering can lead to root rot, so balance is crucial.
Q5: Why is my sod turning brown?
A: Brown sod may indicate underwatering, overwatering, or poor soil conditions. Check your watering schedule and soil quality, and make adjustments as needed.


Recent Comments