French Drains: How to Implement for Maximum Efficiency
Are you tired of that pesky water pooling in your yard every time it rains? 🌧️ A French drain might just be your hero without a cape! In this guide, we’ll dive into the world of French drains and how you can implement them for maximum efficiency. Grab a cup of coffee, sit back, and let’s get started!
Table of Contents
1. What is a French Drain?
2. Why Do You Need One?
3. Materials and Tools Required
4. Step-by-Step Guide to Installing a French Drain
5. Maintenance Tips for Longevity
6. Conclusion
7. FAQs
What is a French Drain?
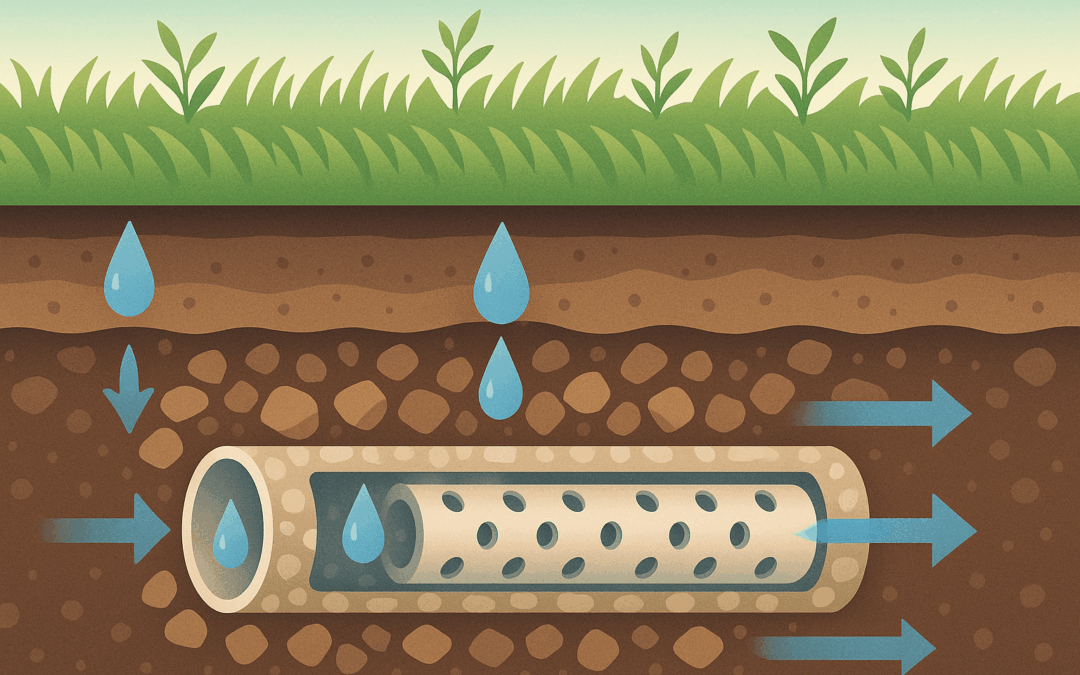
Simply put, a French drain is a trench filled with gravel or rock containing a perforated pipe that redirects surface water and groundwater away from a specific area. It’s like a secret underground passageway for water! 🚰
Why Do You Need One?
If you’ve ever had a soggy basement or a marshy garden, you know how frustrating excess water can be. French drains are perfect for:
– Preventing water damage to your home’s foundation 🏠
– Reducing soil erosion in your garden 🌿
– Keeping your lawn dry and usable even after heavy rain 🌧️
Materials and Tools Required
Before you roll up your sleeves, make sure you have these materials and tools ready:
– Shovel 🥄
– Gravel or crushed stone 🪨
– Perforated pipe (PVC or flexible drain pipe)
– Landscaping fabric
– Level 📏
– Stakes and string for marking
Step-by-Step Guide to Installing a French Drain
Ready to dig in? Here’s how you can install a French drain efficiently:
1. Plan Your Route
Identify the area where water collects and plan a route for your drain to direct water to a lower elevation or drainage ditch. Mark this path with stakes and string.
2. Start Digging
Dig a trench along the marked path. The trench should be about 18 inches deep and 9–12 inches wide. Make sure it slopes about 1 inch every 10 feet to ensure proper water flow.
3. Add Gravel and Pipe
Line the bottom of the trench with gravel, then lay the perforated pipe on top. Ensure the holes of the pipe face downward. Cover the pipe with more gravel until it’s about 2 inches below the surface.
4. Cover with Landscaping Fabric
To prevent soil from clogging the pipe, cover the gravel with landscaping fabric, then backfill the trench with soil.
5. Test Your Drain
Pour water into the area to make sure it flows properly through the drain and away from your problem area. Adjust if necessary!
Maintenance Tips for Longevity
Keep your French drain in top shape with these tips:
– Regularly check for blockages and clear any debris.
– Ensure the exit point is free of obstructions.
– Replenish gravel if needed to maintain coverage.
Conclusion
Installing a French drain can be a weekend project that pays off big time by protecting your home and yard from water damage. With a little planning and effort, you’ll have a dry and functional outdoor space ready for any weather! 🌦️
FAQs
Q: How deep should a French drain be?
A: A typical French drain trench is about 18 inches deep, but depth can vary depending on the specific drainage needs.
Q: Can I install a French drain myself?
A: Absolutely! With the right tools and a bit of DIY spirit, you can install a French drain yourself. Just follow the steps outlined above.
Q: How long does a French drain last?
A: With proper maintenance, a French drain can last anywhere from 30 to 40 years.
Q: Do French drains require a lot of maintenance?
A: Not really. Regular checks for blockages and ensuring the exit is clear are usually sufficient to keep it functioning well.
We hope this guide helps you tackle those water woes with confidence! 💧 Feel free to leave a comment if you have any more questions or tips to share.


Recent Comments